(Click for a larger view)
Mark passed on his project for everyone to share - it looks great, thanks Mark!
(Click for a larger view)
Mark passed on his project for everyone to share - it looks great, thanks Mark!
![]()
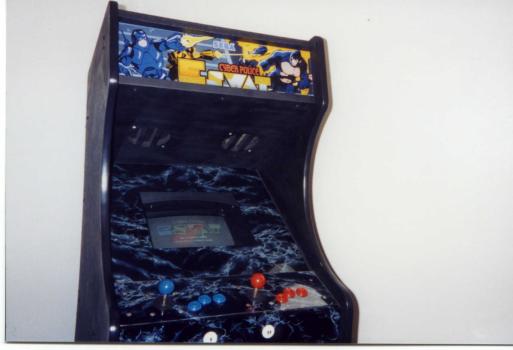
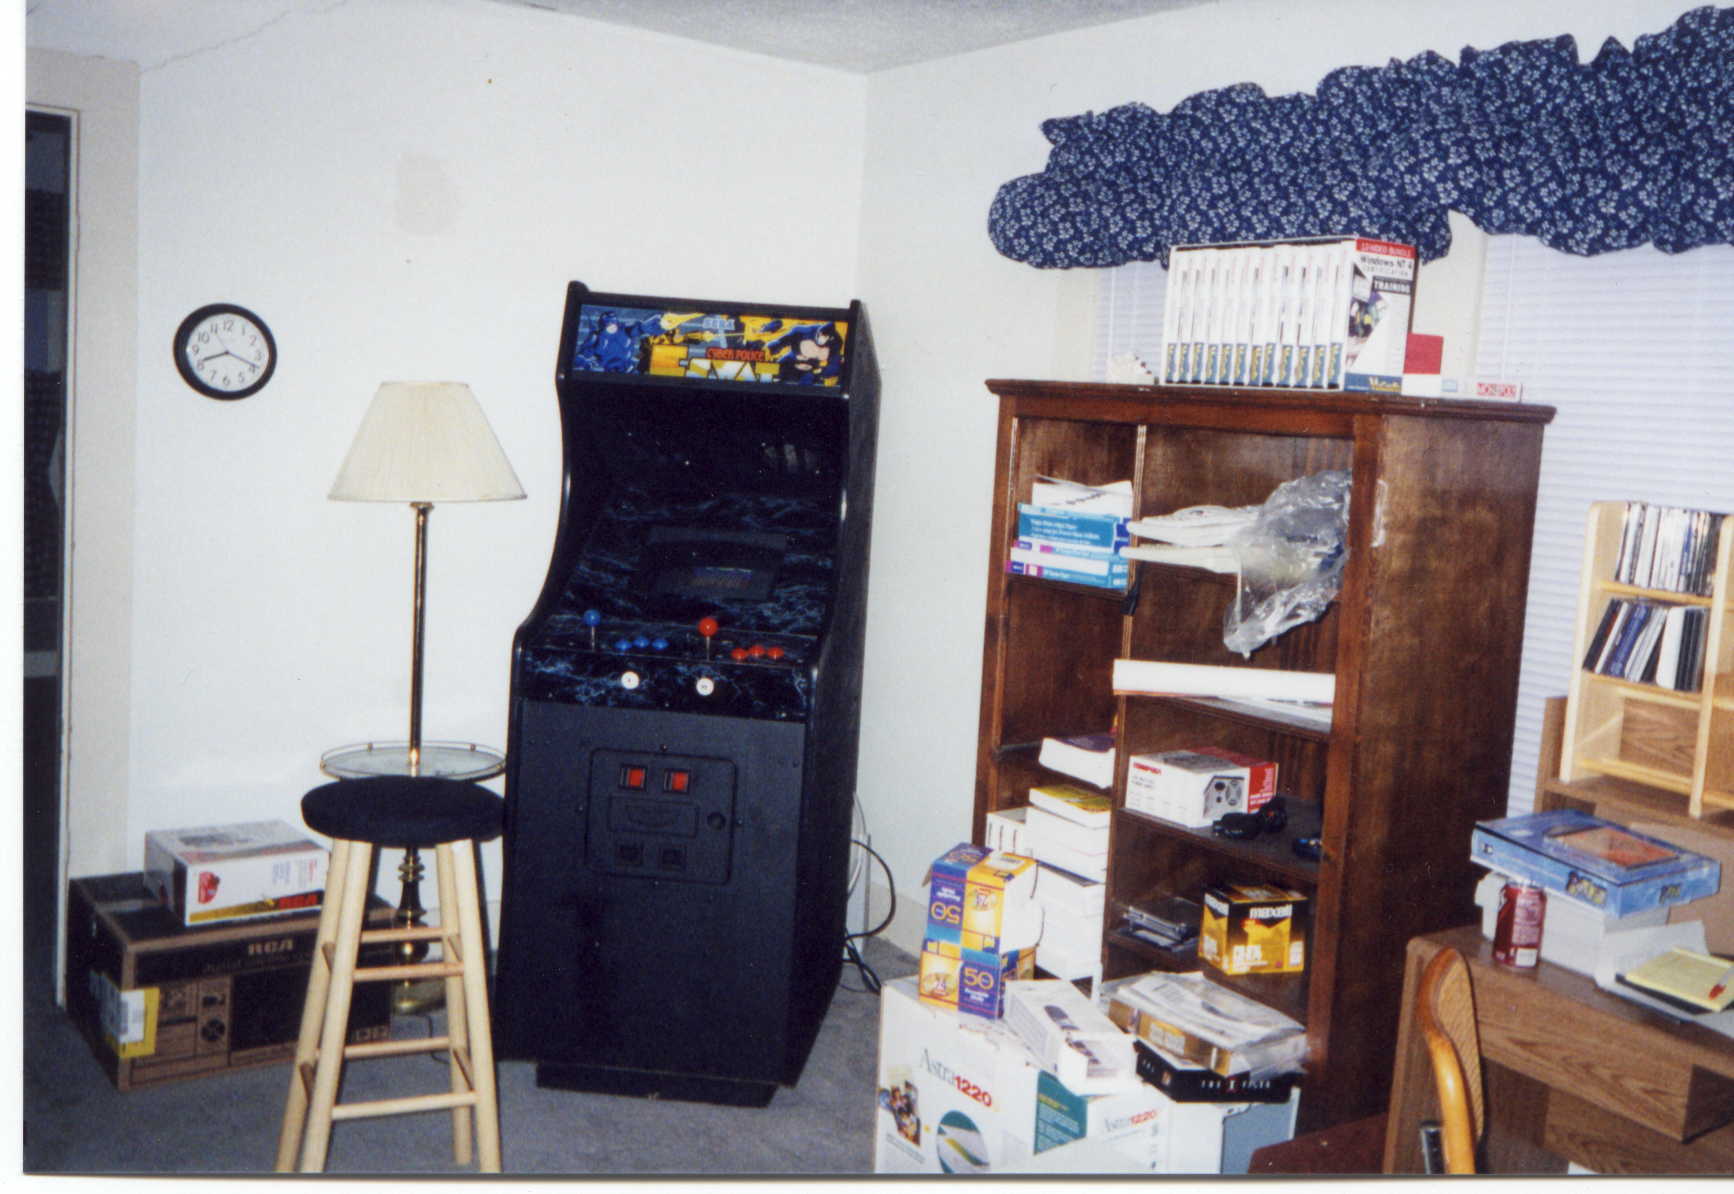
| The cabinet is an Eswat machine originally purchased at an auction for $75. I gutted everything, replaced the monitor with a 15 inch CompUsa monitor, and mounted it with self brackets bolted into the monitor case (had the take the monitor apart of course to find a safe place to mount the bolts). |
| The control panel was originally an ugly red/black nasty looking overlay. Removed that and replaced it with the almighty marble contact paper. This was also what I chose to use as the monitor bezel. For that I used a piece of posterboard, cut a hole in the middle to match the monitor's size/placement and covered the posterboard with the marble contact paper. |
| As for the actual controls, the only thing I did was to replace the buttons. Everything but the joysticks are new. The joysticks are the leaf style which work really well for all types of games. The buttons were purchased from Happ Controls - an excellent source. |
| The marquee stayed the same. The only thing added was a $15 under-the-counter fluorescent light behind (the lights that came with it barely did anything). |
| I put microswitches behind the coin return slots, so when the left coin return slot is pressed it signals an insert coin. The other coin slot serves as the ESC key. Also, these slots are now lit. They didn't come this way - I bought lights that fit almost perfectly in the slot and they are being run by a universal switchable power supply (the ones that have a gazillion connections of the end the wire that you buy at Wal-mart for $10). |
| The cabinet came with only one speaker. That has since been replaced with cheapo Radio Shack brand car stereo speakers. The speakers are then hooked up to an old 8 track radio(!) inside (The radio has an aux. input, so I ran the computer's sound through that radio. I know - it doesn't seem like the most practical thing to do - but i wanted to use the same speaker size that fit the cabinet) | 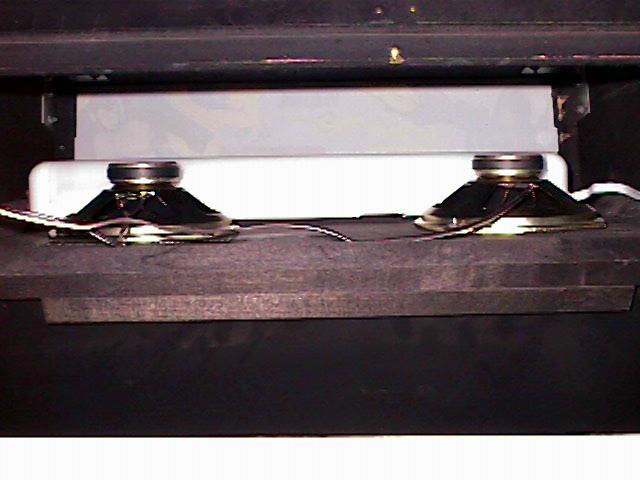
(Click for a larger view) |
(Click for a larger view) |
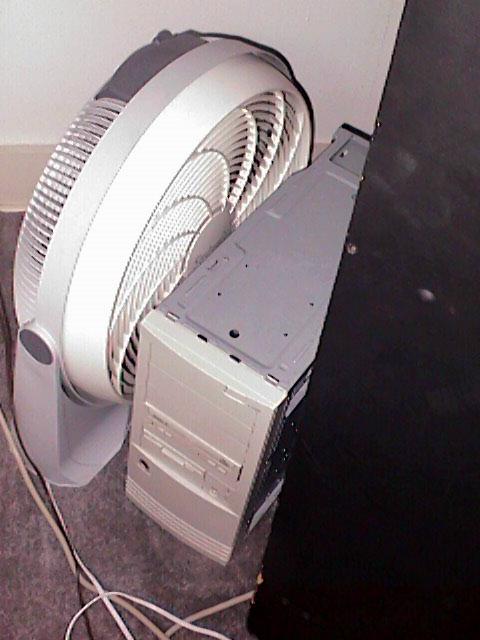
The cpu is a pII 350 with 32 megs of ram running Arcade@Home. As you can see from the picture, the computer has a small heat problem so I have a floor fan keeping it cool (Hey, whatever works, huh?) |
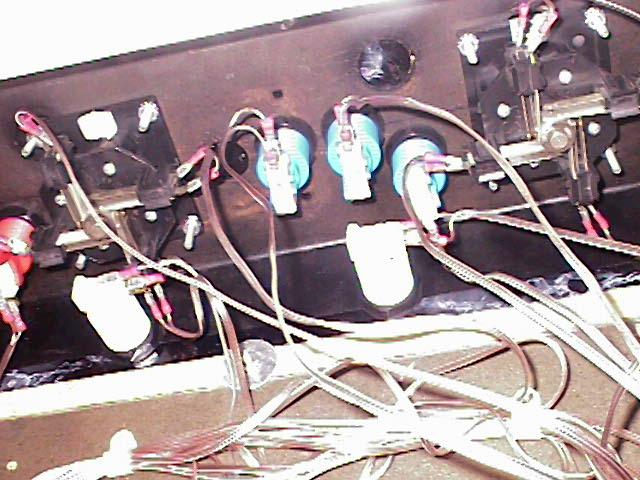
| The interface for the controls is an old Dell keyboard. I just removed the cover and started soldering wires to each of the keys I knew that I needed. These wires are then connected to "quick connect" terminals which are then connected to the control. I highly recommend using these terminals because it makes it so much easier if you mess up/want to change your configuration. | 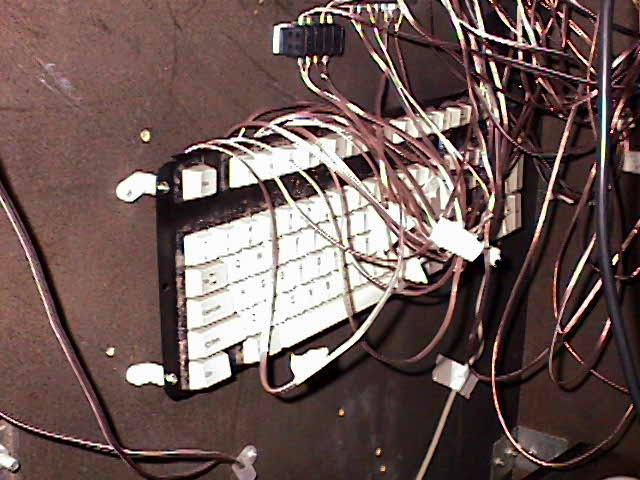
(Click for a larger view) |
(Click for a larger view) |
The only thing about the controls that is hard wired is the first set of wires going to the connector boxes. On the end of those wires are the "U" shaped quick connectors. The buttons/joystick wires have the "female" type connector. This took a while to do for every wire, but it was worth it. The type of wire used was regular speaker wire - it seemed to be the best choice because each button/joystick connection need two contacts. |
| As for the cabinet itself, not a ton of work was required. When I got it some of the black was scratched off, especially on the sides, so I painted the entire cabinet. One major thing was ... I HAD TO CLEAN EVERYTHING(!) from the coin slots to the inside bottom of the cabinet. This was the part I hated most about this project, but I guess it's a required step. |
Mark's
Arcade!
(Click for a larger view)
Questions? Email Mark!